October 2012 Archives

3+ Weeks on the trails

| No Comments

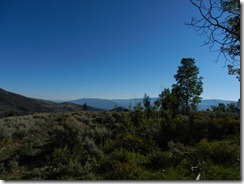
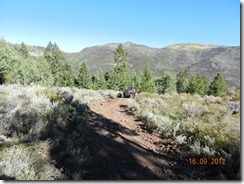
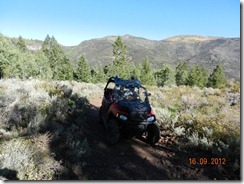
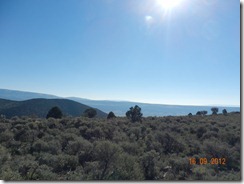
For the entire 2nd half of September and first half of October, I was fortunate enough to get in some camping, fishing, hiking and ATV'ing.


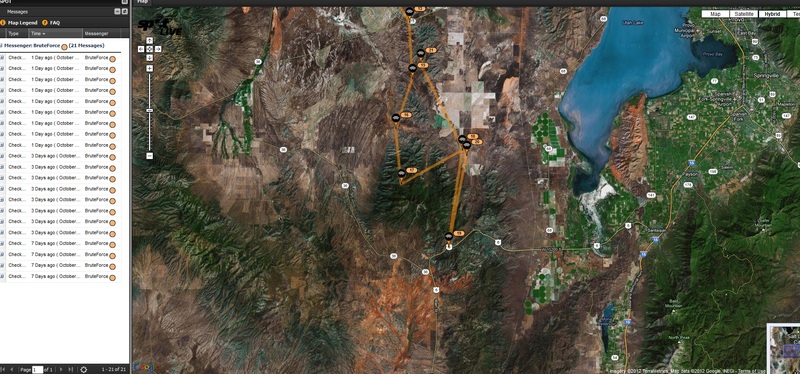
GPSr tracks found here:

5Mile-to-Eureka-via-BlackRock.gdb

Koosharem-to-Richfield.gdb

Kanosh-to-Marysvale.gdb

05 Oct 2012-Jacob City-Soldier Creek Ride.gdb

PaiuteTrail_BarneyLakeTrackLog.gpx


Koosharem-Marysvale-Riding


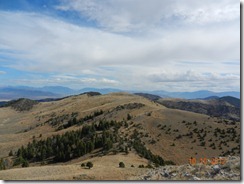
I spent the first 7 days between Koosharem, Utah and Marysvale, Utah. My goal was to ride as many "new-to-me" trails as possible while in those areas, with an emphasis on filming and riding the much-touted Barney Lake trail.


The first four days were spent at the Koosharem RV park; a small park that can host approximately 10 RV's. I was quite surprised that I was able to get my massive rolling Marriot into their park.


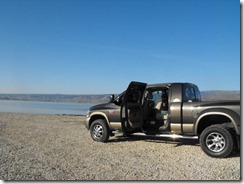
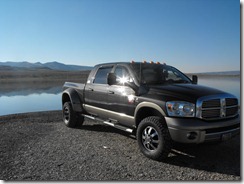
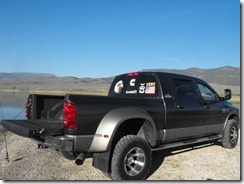
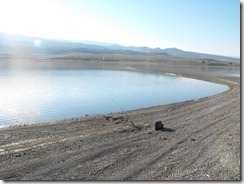
Day 1, I found myself wanting to go fishing at Otter Creek reservoir. Sadly, the lake was at 50% of its normal water capacity, and I was able to drive my truck across a sand bar that placed me about where the middle of the lake used to be.


DSCF8068DSCF8069DSCF8070DSCF8071DSCF8072


With the water as low as it was, I was unsuccessful, but I did still manage to net about a dozen crayfish and boiled them up for dinner that evening (along with a great steak!).


Day 2, and my friend Gary Elias (and wife) arrived to join me. After getting his camp setup, we thought we'd make the ~80 mile round trip to Otter Creek and back. Unfortunately, Gary's diabetes were acting up and we changed course, instead heading toward Monroe.


DSCN0341DSCN0342DSCN0343DSCN0344DSCN0345DSCN0346DSCN0347DSCN0348DSCN0349DSCN0350DSCN0351DSCN0352DSCN0353DSCN0354DSCN0355


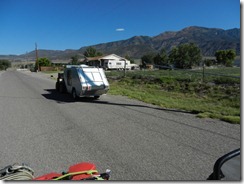
While leaving Monroe and heading back toward the trails, we saw a couple towing the most interesting camper (with their ATV) that I've ever seen.


DSCN0356DSCN0357


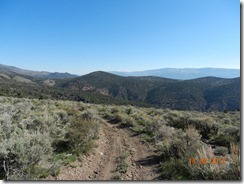
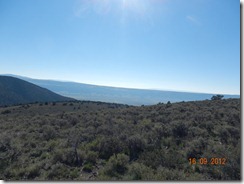
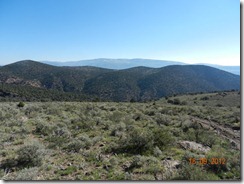
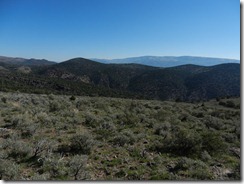
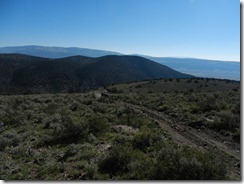
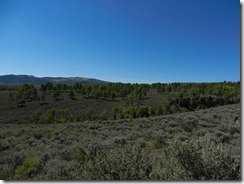
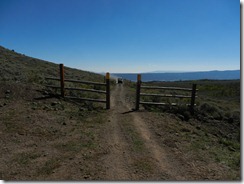
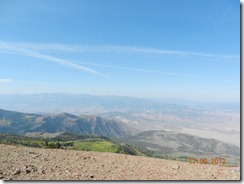
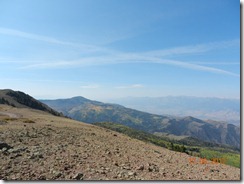
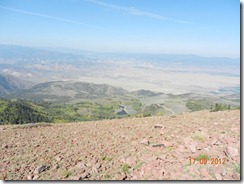
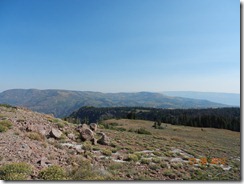
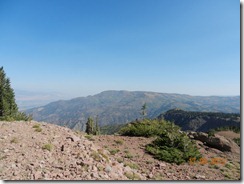
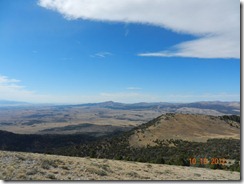
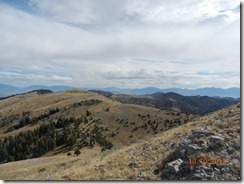
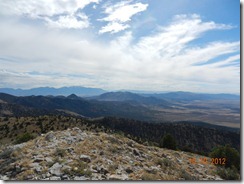
Day 3, we decided that we'd make a run at the Barney Lake trail. This trail was known for being brutally steep, rock covered and for advanced riders; it really didn't seem to be any of those (to me), but did have a few decent technical sections.


Barney Lake trail


DSCN0365DSCN0366DSCN0367DSCN0368DSCN0369DSCN0370DSCN0371DSCN0372DSCN0373DSCN0374DSCN0375DSCN0376DSCN0377DSCN0378DSCN0379DSCN0380DSCN0381DSCN0382DSCN0383

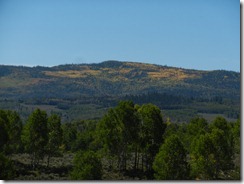
My favorite trail though had to be the PST65 coming off Monroe Mountain and into the town of Monroe. This trail had tight switchbacks, some interesting terrain and a descent of over 7000' in elevation.


PST65


On Day 4, I said my goodbyes to Gary and his wife and departed for Marysvale. I had already phoned ahead and reserved a spot at Lizzie -n- Charlies RV park (easily my favorite RV park in central Utah).


From this location, I rode the Deer Creek 74 trail, the 606, Barney Lake (yet again) and the PST 65 (yet again).


PST606


After ~7 days, it was time to return home. Fortunately, for me, another friend contacted me and asked if I wanted to join him in riding from Kanosh to Marysvale (as a day trip). This ride is easily my annual favorite, so I gladly accepted and we departed for the Adelaide campground.


Kanosh-to-Marysvale


The PST97 "Al Gay" trail and Paiute 01 were our primary destination trails, and neither disappointed.


PST97


Sam Stowe


What a great time on the Paiute in September!


So, I'm back home, interviewing for new jobs and trying to find additional trails to ride. Again, the phone rings and my brother-in-law is wondering if I'd take him and his wife riding from Five Mile Pass to Eureka. Sure, I reply - so we head off to the Five Mile Pass area and enjoy a day of riding. Sadly, somewhere en route to / from Eureka, I managed to lose the keys to my truck. Fortunately, I have an awesome wife and she agreed to drive the 45 minutes to drop off my spare (and only remaining) set of keys.


The Snake Charmer trail @ Five Mile Pass


A week or so passes and I again get invited to ride the Jacob City Loop (Ophir, Utah area) with a new friend. We stage on Mercur Canyon road and depart for my secret trail on the south side of Ophir Canyon.


Jacob City Loop


Now, its almost mid-October and again I meet up with another new friend and we ride Little Moab to Eureka. We ride through (from East to West) Black Rock Canyon, then through Chilius Pass and into Eureka for lunch at the HWY6 Deli.


DSCN0417DSCN0418DSCN0419DSCN0420


The best section of trail riding in this area is the Dry Lake, Mill Canyon trail. This trail is easily the most technical ride in the entire area.


Mill Canyon


So, its now the 12th of October and I'm prepping for 10 days in the San Rafael Swell, White Sands and Moab. That trip report will be posted later.
Enhanced by Zemanta

Yet another 5Mile to Eureka run..

| No Comments

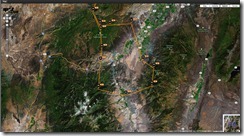
5Mile-to-Eureka-via-BlackRock.jpg

Yesterday (7 Oct 2012), I was asked to ride with my brother-in-law and his wife, and lead them on a run from 5Mile Pass to Eureka, Utah.

We agreed to meet at 10am at the far South/West staging area. Morning temperatures were easily 38F with a light breeze. To say it was brisk would be an understatement.

Our route was fairly easy since my sister-in-law isn't an experienced rider. Normally, I'd hit some of the tough climbs just south of 5Mile. For this route, we simply paralleled the mountains until with hit Black Rock Canyon, cut through the canyon, rode a bit of Allen Ranch road, then hit Chilius Pass where we came into Eureka from the West side of town.

Garmin track for yesterday's run can be found here:  5Mile-to-Eureka-via-BlackRock.gdb

A video of the ride through Black Rock Canyon:


Blatantly "borrowed" via Bogley.com:

This will discuss:

  • Importing your GoPro MP4 footage into Windows Live Movie Maker
  • Editing your GoPro footage using Windows Live Movie Maker
  • Settings and profiles to get the best HD quality
  • How to grab single frames from your footage and save as images


I really like filming in mode 3 on the GoPro; 720 and 60 frames per second. Some like mode 4 at the taller 960, or mode 5 at 1080 but these are only at 30 frames per second so you really lose a lot of that "HD pop" if you know what I mean. It all comes down to what you are filming and where you choose to share, I guess. But I changed to mode 3 about 2 years ago and I never looked back.

SD Card... a big size is nice, but it's the "Class" that is most important. The higher the class, the better the buffer is on the card. The current trophy SD card is a 32GB Class 10. I would try to avoid going with a Micro SD card and adapter, just to avoid any contact issues.

So you've got footage that is going to change the world, go viral, and win 9 internets. You just need to cut out the scene where somebody is picking their nose before you share it.

If you are on Windows 7 or Vista, download Windows Live Movie Maker here:
http://windows.microsoft.com/en-US/w...er-get-started - Skip the other optional junk like Live Writer and all that...

Copy your footage from your SD card to your computer. DO NOT edit this footage ON the card, edit it only once you've put it on the computer. Import your footage into Windows Live Movie Maker. The footage will need to process before you can begin editing. This may take a while depending on size. Sometimes after my rides I've got maybe 6GB and I'll let it process for an hour or so before it's ready to edit. You'll see the progress bar at the bottom.
Name:  processing1.png
Views: 30
Size:  26.2 KB

You can even begin editing each clip that has been processed, or just come back after a while after it's complete.

To avoid the black bars, set your project dimensions to Widescreen, since YouTube's player is in widescreen and you've filmed in widescreen, unless you went with mode 4.

Examples:

Widescreen
Name:  wide.png
Views: 26
Size:  196.1 KB

Standard
Name:  standard.png
Views: 26
Size:  158.2 KB

If you use the Chesty mount for the GoPro, or even the seatpost mount, you may have flipped your camera upside down to get the best angle. You could either flip it in the settings on the GoPro before filming, or you can rotate it like I do in WLMM, up in the top bar

Name:  rotate.png
Views: 26
Size:  47.6 KB

Now it's time to begin editing. In the Edit tab you have the Split (or hit the M key) to chop up a clip and trash unwanted segments. You can speed up or slow down a clip, edit the volume, have the volume fade in or out...

Name:  edit.jpg
Views: 26
Size:  36.5 KB

Put some transitions between the clips to show your mad skillz. I don't bother with the fancy stuff, I just use the cross fade. My purpose is not to show off variety in transitions, but the footage itself. Try to avoid getting lost in making sure you have covered every transition type. Keep in mind that when you add transitions, it overlaps each clip into the other so your timeline will be reduced by default of 1.5 seconds on each split. So if you're trying to perfectly time this to music, this may be a point of interest.

Name:  animation.jpg
Views: 26
Size:  56.8 KB

Once you've got it all chopped up, maybe a soundtrack is in order. Set it to begin anywhere on the timeline, adjust the volume for the music separately from the video track, have it fade in or out to avoid any abruptness...

Name:  music.jpg
Views: 26
Size:  32.9 KB

And the MOST IMPORTANT setting of all in my opinion, is your production profile. If I took great care in filming something in 60 frames per second, I want all 60 frames to remain after production! So instead of saving the movie in the "recommended" settings, create a custom profile that provides 60 frames per second instead of the default 30.

At the dropdown under Save Movie, select Create Custom Settings:

Name:  save.jpg
Views: 26
Size:  60.5 KB

Then create a profile to your dimensions and frame rate

Name:  custom.jpg
Views: 26
Size:  32.0 KB

Save, and Save again, and close.

Now your 60 frames per second profile is available to save in.

Name:  60.jpg
Views: 26
Size:  59.7 KB

Produce your video, and upload to YouTube


For more: http://www.youtube.com/bogleydotcom

I also get asked how I grab the still frames from my videos, saving them as images. For that I use VLC Media Player:
www.videolan.org

While playing your footage through VLC, pause at the desired spot (maybe even slow down the playback to get the exact spot). Go up to Video, and then Snapshot, depending on what update you have of VLC.

Name:  snapshot.jpg
Views: 30
Size:  29.1 KB

This will save that image to your Pictures folder by default, producing some cool freeze frame moments like:

Name:  472107_3337223702434_1023848194_32465788_2129156234_o.jpg
Views: 30
Size:  58.7 KB

Name:  vlcsnap-2012-07-15-22h48m09s239.jpg
Views: 27
Size:  59.9 KB

Name:  278027_3732180376104_600357917_o.jpg
Views: 27
Size:  45.8 KB

Let's say you'd like to just watch some of your raw footage that was filmed upside down and you don't want to go through the hassle of flipping it in WLMM, or rotating your monitor with the keyboard shortcut. You can rotate the footage in VLC by going up to Tools, Effects, and in the popup box click the Video Effects tab, check the Transform box, and you can select Rotate by 180 degrees.

Name:  180.jpg
Views: 30
Size:  33.6 KB

Enhanced by Zemanta


 Where is James King?


Language Translation


Other Links:


 Main
 Public Trail Maps
 Archives
 CMS
 About/Contact
 Twitter @BruteForce
 Facebook
 LinkedIn
 Geocaching
 View DGP stats


My Audio & Video:


 Flickr
 YouTube
 Pandora


Elsewhere:


 ATV Utah
 Our ATV Obsession
 Bogley Outdoor Community
 ATV Escape
 Trish's Cake Shop
 Dennis Udink's Site
 Army Ranger
 Alex's World
 Grizzly Guy
 Adventure World TV
 WeatherCam: UofU
 Delta Bravo Sierra Comics  
 PowerPoint Ranger Comics
 Reversaroller ATV Winch

March 2022

Sun Mon Tue Wed Thu Fri Sat
    1 2 3 4 5
6 7 8 9 10 11 12
13 14 15 16 17 18 19
20 21 22 23 24 25 26
27 28 29 30 31    

Recent Photos

About this Archive

This page is an archive of entries from October 2012 listed from newest to oldest.

September 2012 is the previous archive.

January 2013 is the next archive.

Find recent content on the main index or look in the archives to find all content.