Blatantly "borrowed" via Bogley.com:
This will discuss:
I really like filming in mode 3 on the GoPro; 720 and 60 frames per second. Some like mode 4 at the taller 960, or mode 5 at 1080 but these are only at 30 frames per second so you really lose a lot of that "HD pop" if you know what I mean. It all comes down to what you are filming and where you choose to share, I guess. But I changed to mode 3 about 2 years ago and I never looked back.
SD Card... a big size is nice, but it's the "Class" that is most important. The higher the class, the better the buffer is on the card. The current trophy SD card is a 32GB Class 10. I would try to avoid going with a Micro SD card and adapter, just to avoid any contact issues.
So you've got footage that is going to change the world, go viral, and win 9 internets. You just need to cut out the scene where somebody is picking their nose before you share it.
If you are on Windows 7 or Vista, download Windows Live Movie Maker here:
http://windows.microsoft.com/en-US/w...er-get-started - Skip the other optional junk like Live Writer and all that...
Copy your footage from your SD card to your computer. DO NOT edit this footage ON the card, edit it only once you've put it on the computer. Import your footage into Windows Live Movie Maker. The footage will need to process before you can begin editing. This may take a while depending on size. Sometimes after my rides I've got maybe 6GB and I'll let it process for an hour or so before it's ready to edit. You'll see the progress bar at the bottom.

You can even begin editing each clip that has been processed, or just come back after a while after it's complete.
To avoid the black bars, set your project dimensions to Widescreen, since YouTube's player is in widescreen and you've filmed in widescreen, unless you went with mode 4.
Examples:
Widescreen

Standard

If you use the Chesty mount for the GoPro, or even the seatpost mount, you may have flipped your camera upside down to get the best angle. You could either flip it in the settings on the GoPro before filming, or you can rotate it like I do in WLMM, up in the top bar

Now it's time to begin editing. In the Edit tab you have the Split (or hit the M key) to chop up a clip and trash unwanted segments. You can speed up or slow down a clip, edit the volume, have the volume fade in or out...

Put some transitions between the clips to show your mad skillz. I don't bother with the fancy stuff, I just use the cross fade. My purpose is not to show off variety in transitions, but the footage itself. Try to avoid getting lost in making sure you have covered every transition type. Keep in mind that when you add transitions, it overlaps each clip into the other so your timeline will be reduced by default of 1.5 seconds on each split. So if you're trying to perfectly time this to music, this may be a point of interest.

Once you've got it all chopped up, maybe a soundtrack is in order. Set it to begin anywhere on the timeline, adjust the volume for the music separately from the video track, have it fade in or out to avoid any abruptness...

And the MOST IMPORTANT setting of all in my opinion, is your production profile. If I took great care in filming something in 60 frames per second, I want all 60 frames to remain after production! So instead of saving the movie in the "recommended" settings, create a custom profile that provides 60 frames per second instead of the default 30.
At the dropdown under Save Movie, select Create Custom Settings:

Then create a profile to your dimensions and frame rate

Save, and Save again, and close.
Now your 60 frames per second profile is available to save in.

Produce your video, and upload to YouTube
For more: http://www.youtube.com/bogleydotcom
I also get asked how I grab the still frames from my videos, saving them as images. For that I use VLC Media Player:
www.videolan.org
While playing your footage through VLC, pause at the desired spot (maybe even slow down the playback to get the exact spot). Go up to Video, and then Snapshot, depending on what update you have of VLC.

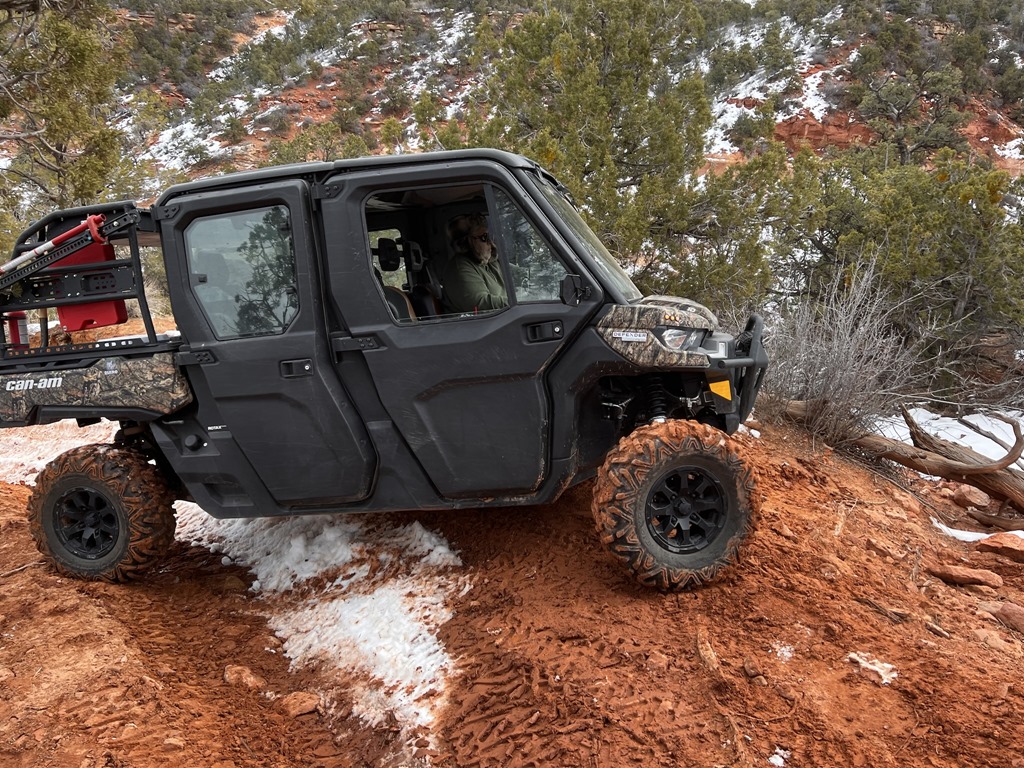
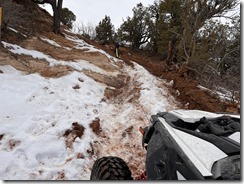
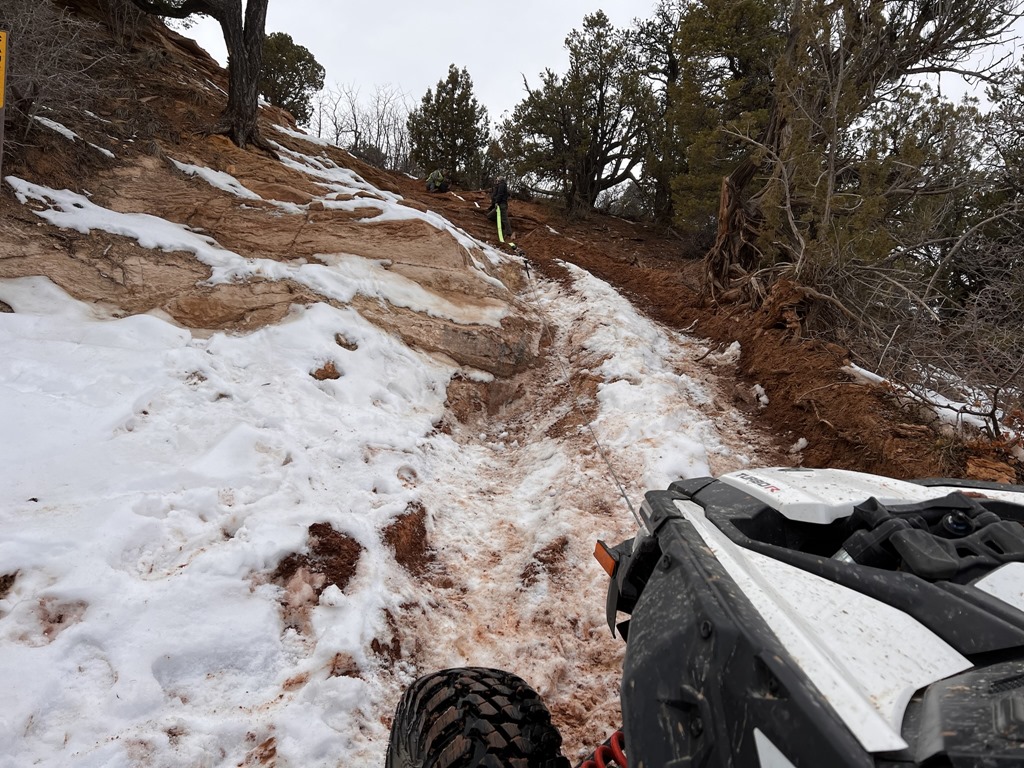
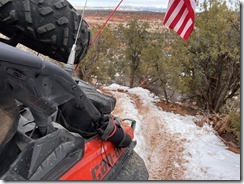
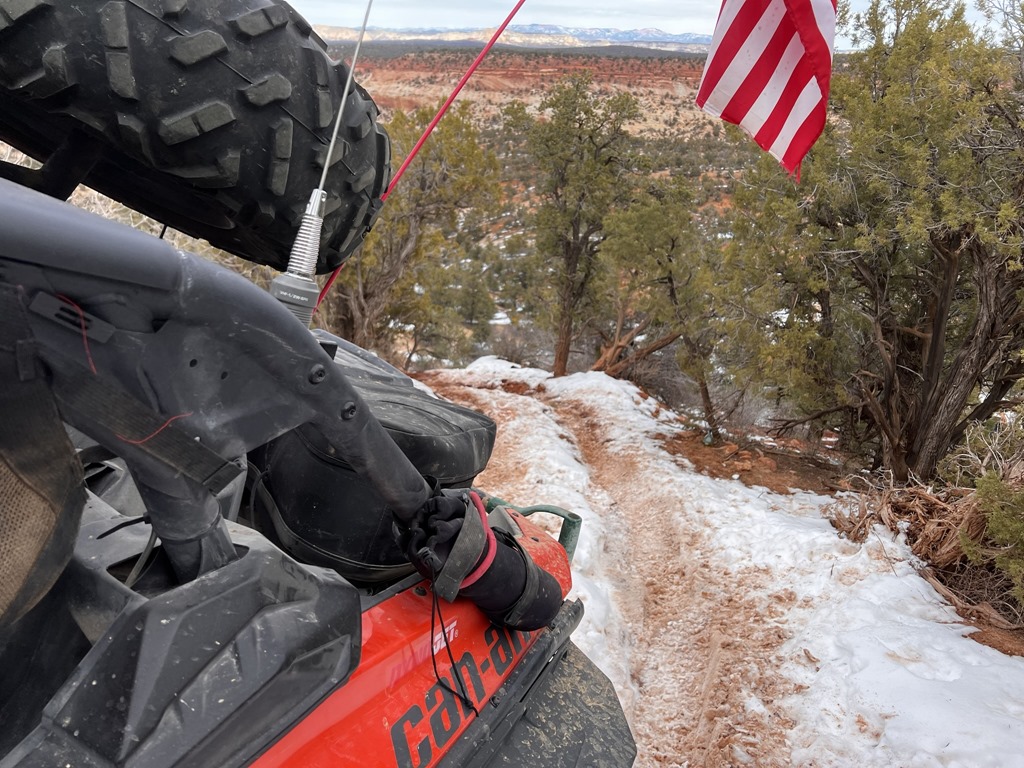
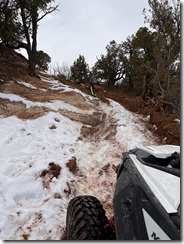
This will save that image to your Pictures folder by default, producing some cool freeze frame moments like:


Let's say you'd like to just watch some of your raw footage that was filmed upside down and you don't want to go through the hassle of flipping it in WLMM, or rotating your monitor with the keyboard shortcut. You can rotate the footage in VLC by going up to Tools, Effects, and in the popup box click the Video Effects tab, check the Transform box, and you can select Rotate by 180 degrees.


This will discuss:
- Importing your GoPro MP4 footage into Windows Live Movie Maker
- Editing your GoPro footage using Windows Live Movie Maker
- Settings and profiles to get the best HD quality
- How to grab single frames from your footage and save as images
I really like filming in mode 3 on the GoPro; 720 and 60 frames per second. Some like mode 4 at the taller 960, or mode 5 at 1080 but these are only at 30 frames per second so you really lose a lot of that "HD pop" if you know what I mean. It all comes down to what you are filming and where you choose to share, I guess. But I changed to mode 3 about 2 years ago and I never looked back.
SD Card... a big size is nice, but it's the "Class" that is most important. The higher the class, the better the buffer is on the card. The current trophy SD card is a 32GB Class 10. I would try to avoid going with a Micro SD card and adapter, just to avoid any contact issues.
So you've got footage that is going to change the world, go viral, and win 9 internets. You just need to cut out the scene where somebody is picking their nose before you share it.
If you are on Windows 7 or Vista, download Windows Live Movie Maker here:
http://windows.microsoft.com/en-US/w...er-get-started - Skip the other optional junk like Live Writer and all that...
Copy your footage from your SD card to your computer. DO NOT edit this footage ON the card, edit it only once you've put it on the computer. Import your footage into Windows Live Movie Maker. The footage will need to process before you can begin editing. This may take a while depending on size. Sometimes after my rides I've got maybe 6GB and I'll let it process for an hour or so before it's ready to edit. You'll see the progress bar at the bottom.
You can even begin editing each clip that has been processed, or just come back after a while after it's complete.
To avoid the black bars, set your project dimensions to Widescreen, since YouTube's player is in widescreen and you've filmed in widescreen, unless you went with mode 4.
Examples:
Widescreen
Standard
If you use the Chesty mount for the GoPro, or even the seatpost mount, you may have flipped your camera upside down to get the best angle. You could either flip it in the settings on the GoPro before filming, or you can rotate it like I do in WLMM, up in the top bar
Now it's time to begin editing. In the Edit tab you have the Split (or hit the M key) to chop up a clip and trash unwanted segments. You can speed up or slow down a clip, edit the volume, have the volume fade in or out...
Put some transitions between the clips to show your mad skillz. I don't bother with the fancy stuff, I just use the cross fade. My purpose is not to show off variety in transitions, but the footage itself. Try to avoid getting lost in making sure you have covered every transition type. Keep in mind that when you add transitions, it overlaps each clip into the other so your timeline will be reduced by default of 1.5 seconds on each split. So if you're trying to perfectly time this to music, this may be a point of interest.
Once you've got it all chopped up, maybe a soundtrack is in order. Set it to begin anywhere on the timeline, adjust the volume for the music separately from the video track, have it fade in or out to avoid any abruptness...
And the MOST IMPORTANT setting of all in my opinion, is your production profile. If I took great care in filming something in 60 frames per second, I want all 60 frames to remain after production! So instead of saving the movie in the "recommended" settings, create a custom profile that provides 60 frames per second instead of the default 30.
At the dropdown under Save Movie, select Create Custom Settings:
Then create a profile to your dimensions and frame rate
Save, and Save again, and close.
Now your 60 frames per second profile is available to save in.
Produce your video, and upload to YouTube
For more: http://www.youtube.com/bogleydotcom
I also get asked how I grab the still frames from my videos, saving them as images. For that I use VLC Media Player:
www.videolan.org
While playing your footage through VLC, pause at the desired spot (maybe even slow down the playback to get the exact spot). Go up to Video, and then Snapshot, depending on what update you have of VLC.
This will save that image to your Pictures folder by default, producing some cool freeze frame moments like:
Let's say you'd like to just watch some of your raw footage that was filmed upside down and you don't want to go through the hassle of flipping it in WLMM, or rotating your monitor with the keyboard shortcut. You can rotate the footage in VLC by going up to Tools, Effects, and in the popup box click the Video Effects tab, check the Transform box, and you can select Rotate by 180 degrees.


Leave a comment