“Borrowed” this write-up from CumminsForum.com
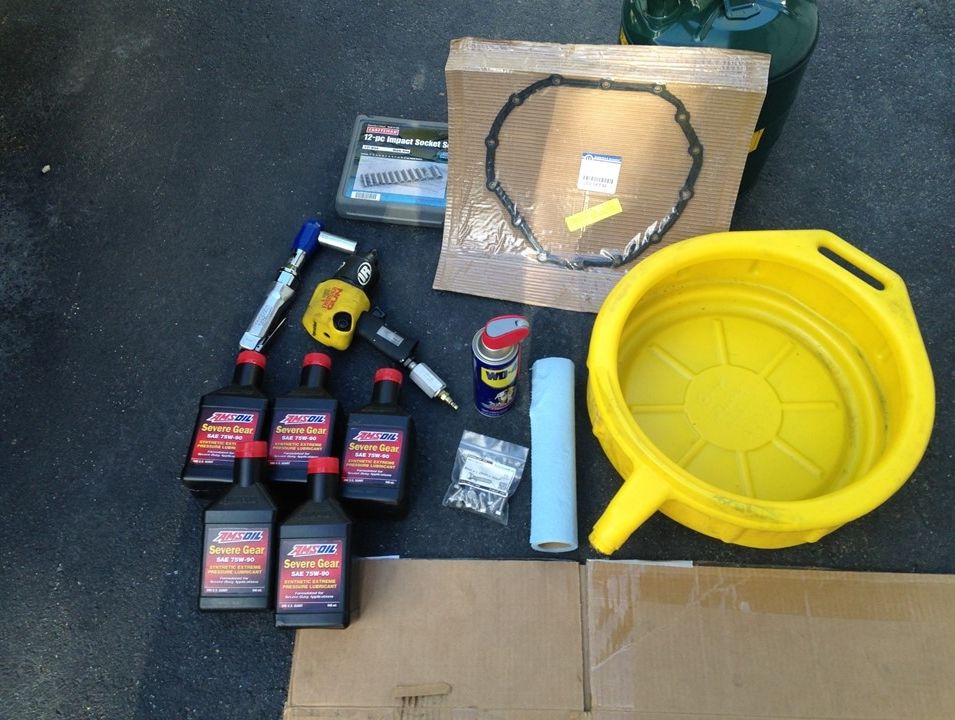
What you need:
drain pan with a wide opening
13mm socket or wrench for cover bolts
3/8" square drive for fill plug
torque wrench
screwdriver or small pry bar
5 quarts of GL-5 75W-90 or 75W-140 gear oil
new differential cover gasket (optional)
solvent and rags/paper towels
| This image has been resized. Click this bar to view the full image. |
| Report this image |
The cover gasket on these differentials is reusable, but I thought a new one was a good idea. The Mopar-branded one is $27 at Geno's. Also, RockAuto.com sells a Fel-Pro brand gasket for $20.
The first thing I recommend before you drain the oil out of a differential or transmission, transfer case, etc., is to make sure you can loosen the fill plug. You don't want to drain the oil and then realize you can't fill it back up! The 3/8" square drive from a ratchet or breaker bar is perfect for removing the fill plug on the cover.
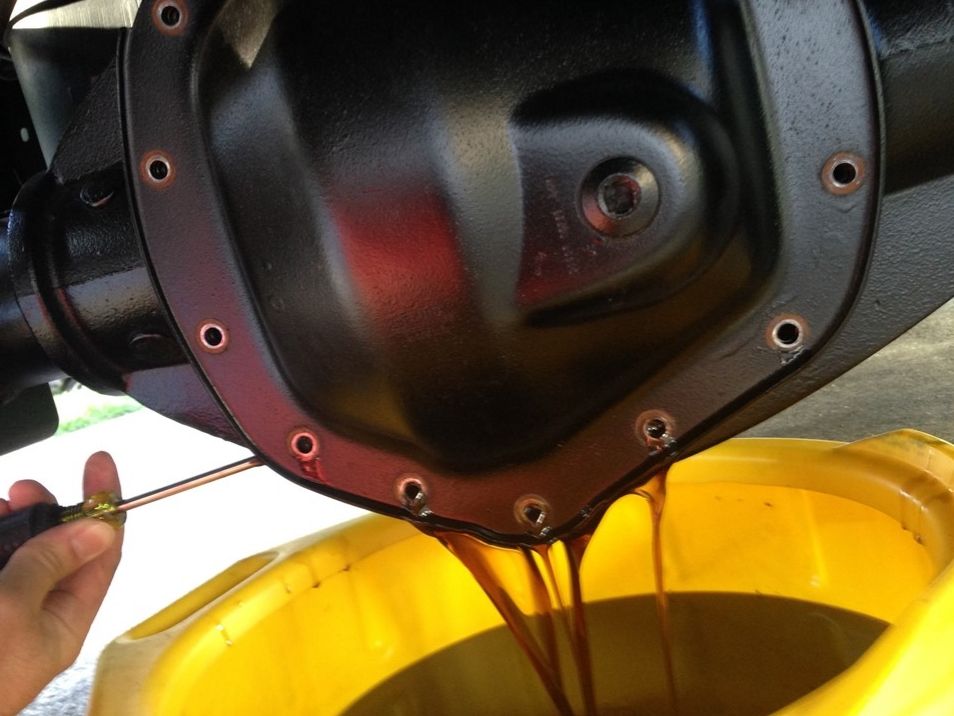
Then start removing the 14 bolts from the differential cover. I used my impact wrench just because I have one, but these bolts should not be very tight. Start from the bottom and work your way up. Oil may start dripping a bit as tension is removed from the gasket. When you have about three or four bolts remaining at the top, gently pry the cover away at the bottom to allow the oil to drain. Don't pry so hard that you bend anything permanently. Loosen more bolts if you have to.
| This image has been resized. Click this bar to view the full image. |
| Report this image |
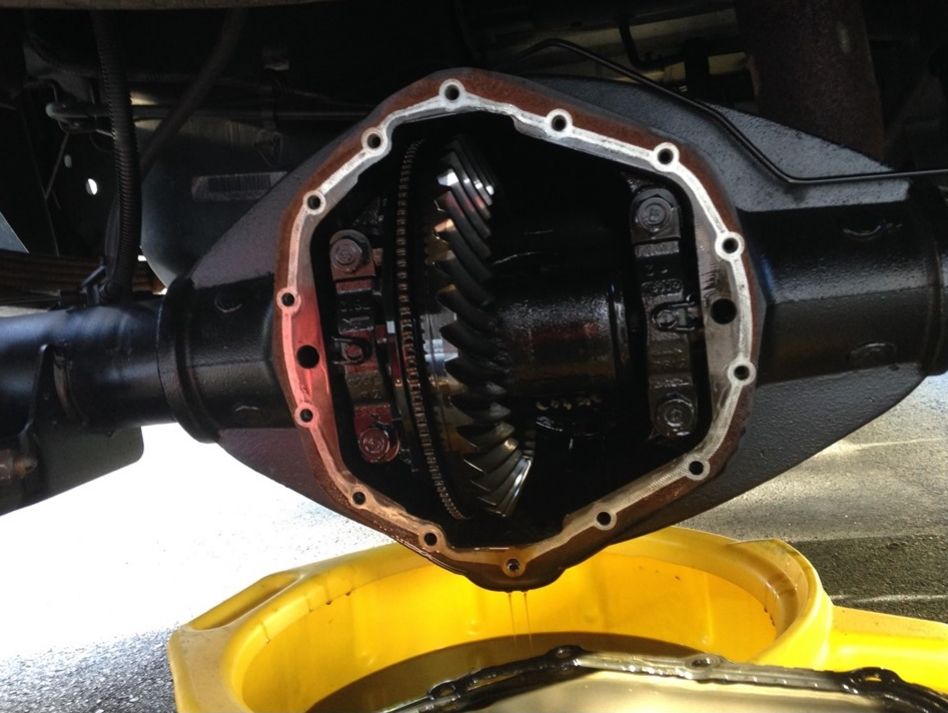
After most of the oil has drained you can remove the rest of the bolts and pull the cover off.
| This image has been resized. Click this bar to view the full image. |
| Report this image |
| This image has been resized. Click this bar to view the full image. |
| Report this image |
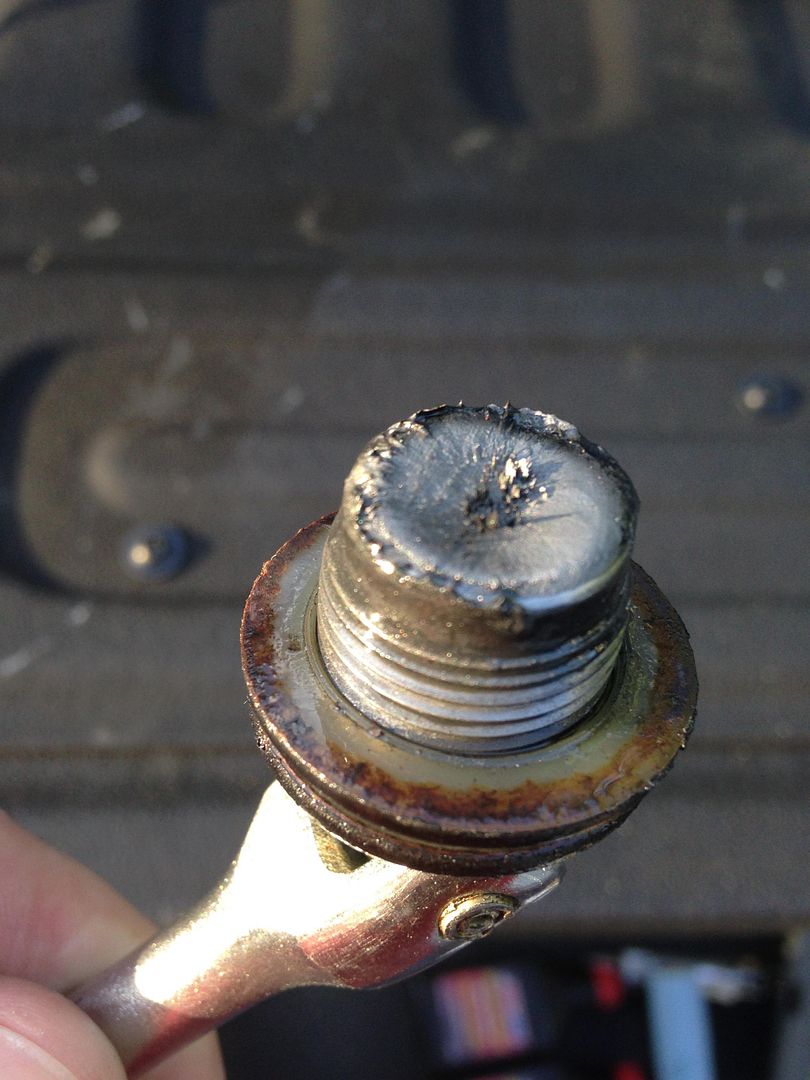
My drain plug had a moderate buildup of powdery iron on the magnet, about the same as I saw on the G56 drain plug when I changed the transmission oil. It wipes clean with a paper towel.
| This image has been resized. Click this bar to view the full image. |
| Report this image |
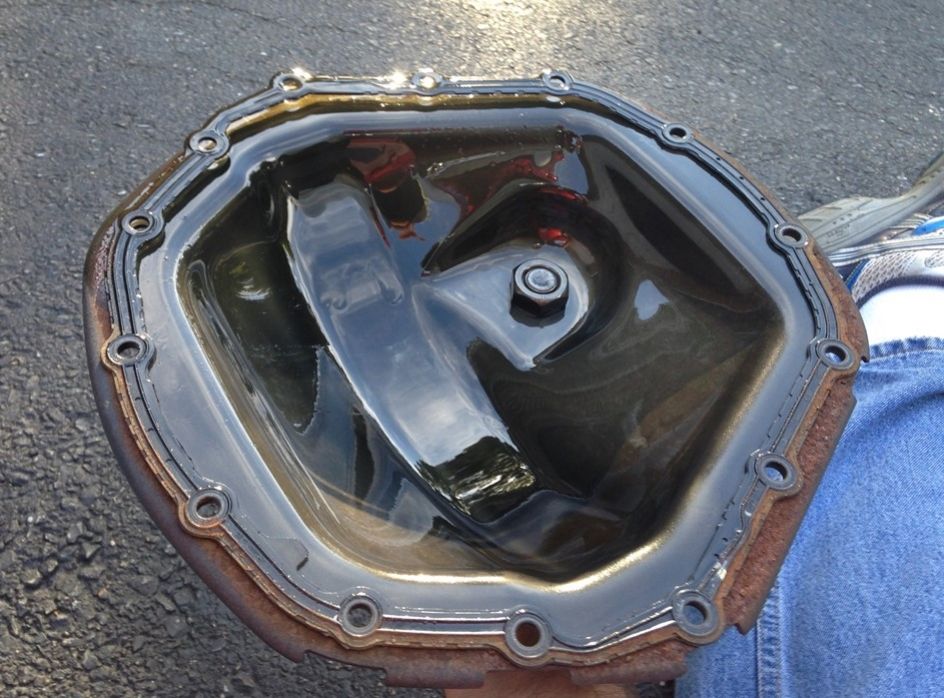
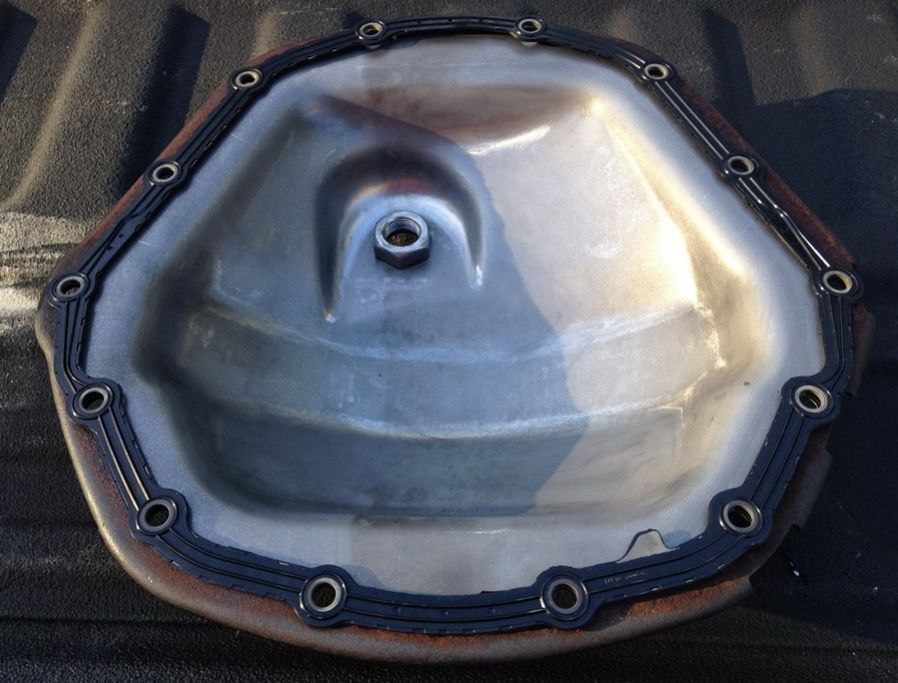
Clean up the inside of the differential cover. I swish a little kerosene around and dump into the drain pan to get most of the oil off, then spray with WD-40 and wipe with paper towels. Here is the clean cover with new gasket.
| This image has been resized. Click this bar to view the full image. |
| Report this image |
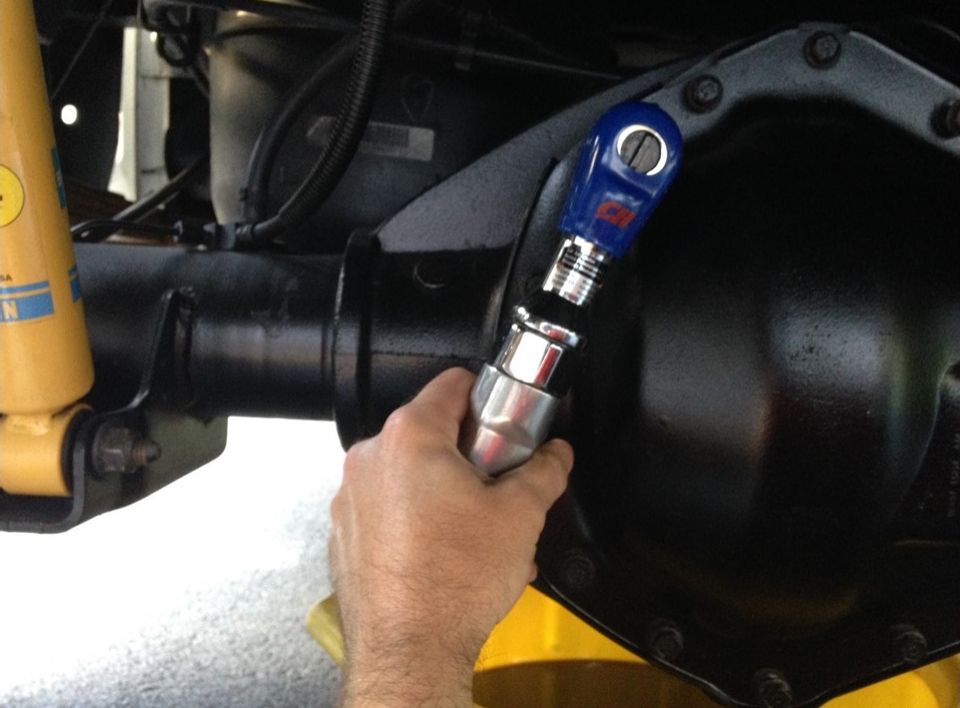
Then put the cover and gasket in place and put the bolts back in. I used my air ratchet wrench to save time, but any ratchet or wrench will do.
| This image has been resized. Click this bar to view the full image. |
| Report this image |
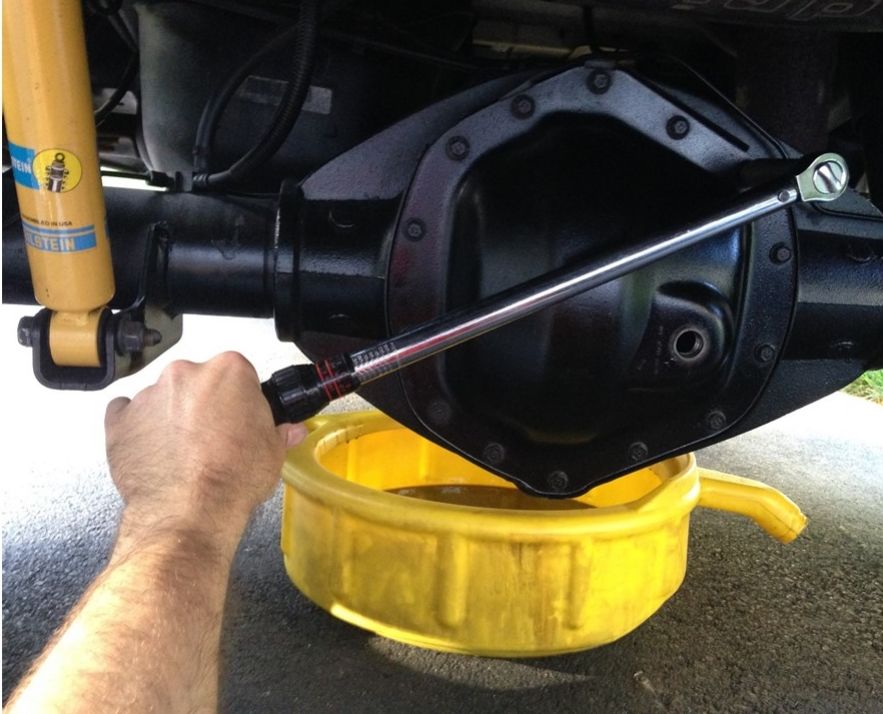
Don't go crazy tight on the cover bolts. The manual calls for 30 ft lbs. Save your retard strength for those shock mounting bolts!
| This image has been resized. Click this bar to view the full image. |
| Report this image |
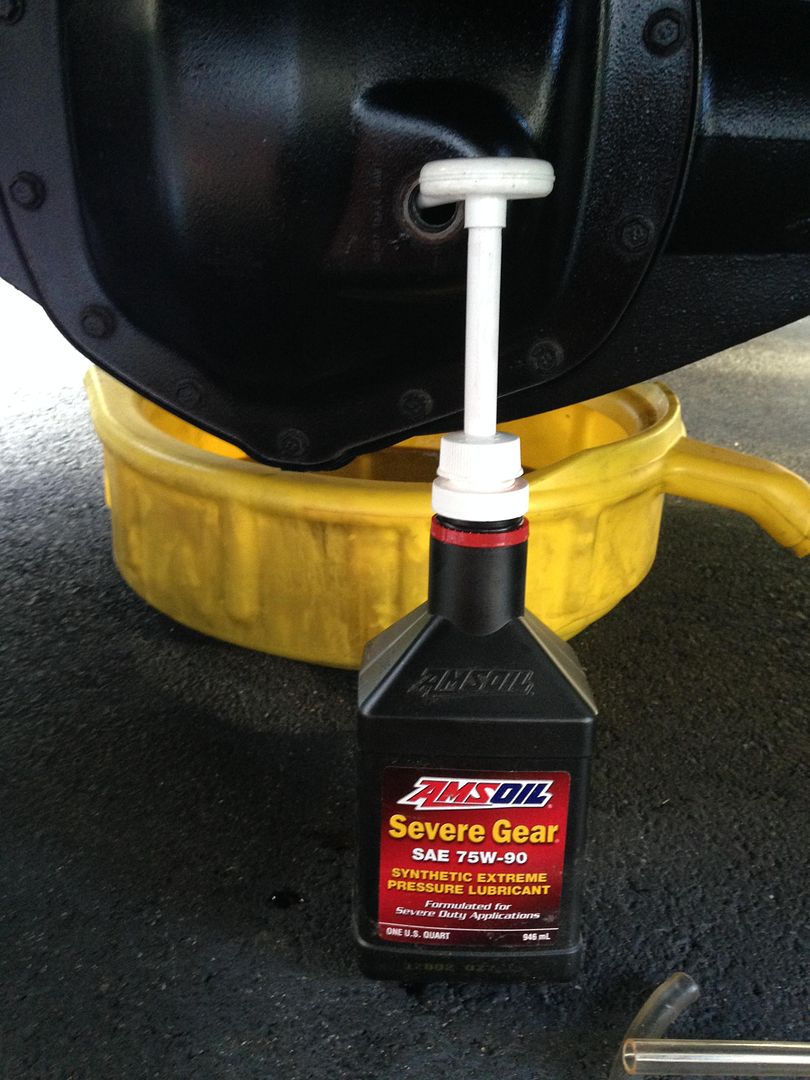
With the cover bolted in place it's time to refill the axle with fresh gear oil. I'm a USAF vet and am a fan of Col Amatuzio's products, but of course you can use whatever GL-5 gear oil you want. Amsoil sells a simple hand pump that screws onto quart or gallon-sized bottles, but I'm sure you can get that same pump from other places. A funnel and length of hose would be an alternative if you don't have a pump.
| This image has been resized. Click this bar to view the full image. |
| Report this image |
From what I understand the fill line on these AAM 11.5" differentials is a little below the bottom of the fill hole. The cover has a fill line stamped into it, but it's not very helpful because you can't really see the oil level until it comes up to the bottom of the fill hole. I put a little more than four quarts into it and then tightened the plug.
That is all there is to it. I worked at a leisurely pace and it took me a little over an hour to do the job. Now I need to do the front axle!


Leave a comment